FRENCH CLEAT TOOL WALL
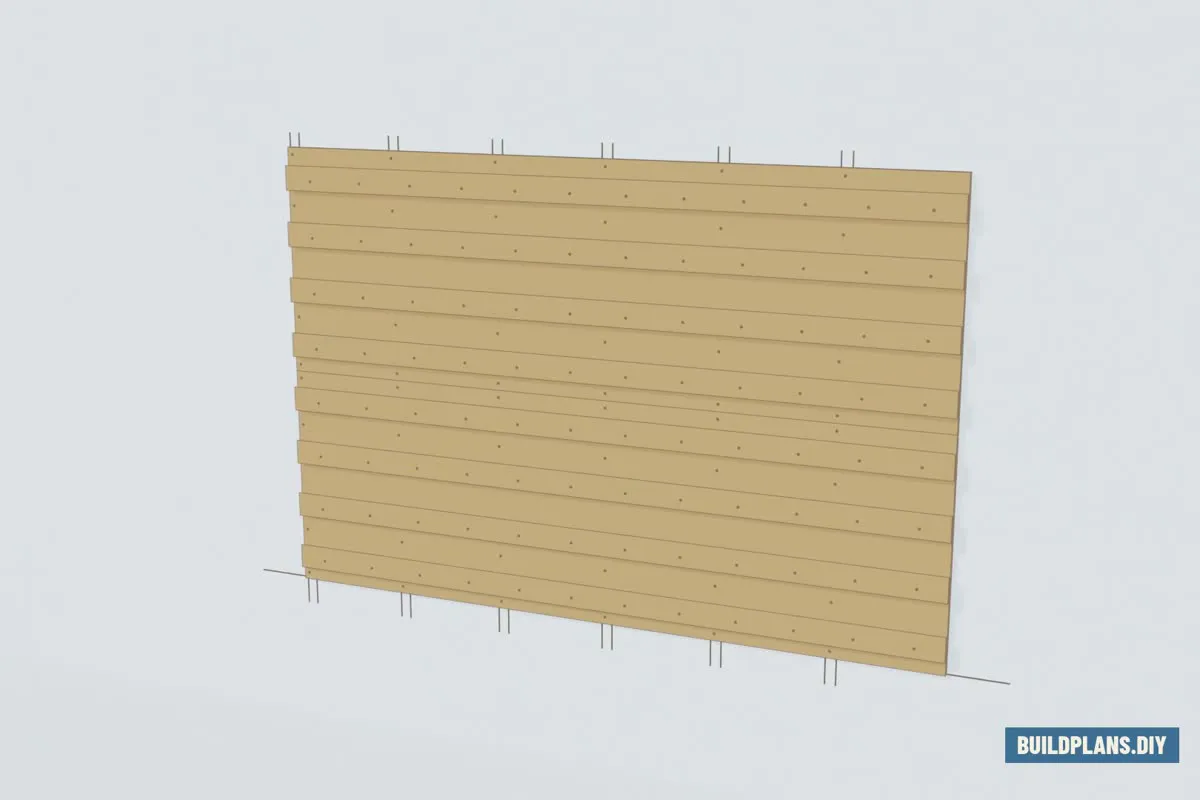
A plywood backer on the studs filled with rows of French cleats. Hang a holder on any row, move it when the shop changes.
Measure your wall. The backer and the cleat rows adjust to its width and height.
Measure the wall space it gets; the cleats fill it up.
CAN I BUILD THIS?
3 steps. One day, about 1 3/4 hours on the wall. Simple cuts are on the cut list.
SHOP
4 MATERIALS TO GET · 10 TOOLS TO GET
Drawn face-on. ClickTap anything you already have.
Lowe’s materials are $0.57 less for this build.
CUT LIST
2 SHEETS · 4 SIZES TO CUT
LABEL EACH PIECE
ClickTap a piece when it’s cut, clicktap again to undo. Pieces too thin to clicktap get their own row under the sheet.
4×8 SHEETS
0 OF 8 CUT- A: Backer panel — upper band 96″ × 32 1/4″
- B: Cleat strip 96″ × 6 1/2″
- C: Backer panel — lower band 96″ × 31 3/4″
- D: Spacer block 4 1/2″ × 2 1/2″
THEN, RIP EACH STRIP IN TWO
THE 45° RIP
BUILD STEPS
1 3/4 HRS ON THE WALL · 3 STEPS
- Snap a level chalk line for the backer’s bottom edge.YOU’LL NEEDChalk line · snaps the level line the build starts from$11.97
- CHECK BEFORE YOU DRIVELevel the backer’s bottom edge on the ledger.
Every row counts up from this bottom edge.
ABOUT THIS PLAN
A French cleat is one strip of plywood ripped at 45°: one half goes on the wall with its tall face out, the other half goes on the back of whatever you want to hang, and the two hook together. The weight pulls the holder tight against the wall instead of off it. This plan takes your wall’s width and height from a tape measure, 96″ × 64″ on yours, screws a ¾″ plywood backer that size to the studs, and fills it with 8 rows of 3 1/2″ cleats, 8″ apart. Hang a holder on any row. Lift it off and move it when the shop changes.
A track saw or a table saw rips the backer panels and the 6 1/2″ strips, then tilts to 45° and splits each strip into two cleats (a circular saw against a clamped straightedge can do it too; it is the third-best way). The backer screws into studs; the cleats take a 1 5/8″ screw into the backer every 8″, so no cleat ever has to find a stud, and two spacer blocks off the offcut set every row above the first. A wall wider than eight feet gets two pieces per row, seamed on the same line as the backer, so the joints stack. The holders drawn on the wall are for scale. Every holder is a backer board with a cleat across its top, so anything built that way hooks any row.
COMMON QUESTIONS
Do I need the plywood backer?
No. Pick NO BACKER and every cleat screws straight into the studs, one 2½″ screw at each stud it crosses. The backer is there so the cleats never have to find a stud: it takes a 2½″ screw into every stud it crosses, and after that every cleat screws into ¾″ of plywood every 8″. Rows land exactly where the spacer blocks put them, and the wall behind is covered. It costs a sheet or two of plywood more than cleats on bare drywall.
My studs are 24″ apart, not 16″. Does the plan still work?
Yes. The drawing lays the studs out 16″ apart because that is most house walls, but the rule is the same either way: a screw into every stud the backer crosses, at the heights on the list. Mark the studs you actually find and screw into those. On a 24″ wall you’ll use about a third fewer backer screws than the count on the list, and the cleats don’t care; they go into the backer.
My drywall is thicker than ½″, or it’s plaster. Same screws?
Step up to 3 1/8″ screws for the backer, same count. The 2 1/2″ screw on the list reaches 1 1/4″ into the stud through 1/2″ drywall; through 5/8″ board that drops to 1 1/8″, and plaster over lath can be thicker still. A 3 1/8″ screw gets the full bite back. The cleat screws don’t change. They go into the backer, not the wall.
Which cleat width should I pick?
The 2 1/2″, 3″ and 3 1/2″ stops are the tall face of the cleat. Wider is a deeper hook and more plywood behind each screw; narrower fits more rows in the same height, because the rows move closer. The 3 1/2″ cleat is the one to pick if you want holders that fit other cleat walls built to the common size; the smaller two make sense on a short wall where every row counts.
Why are the rows spaced the way they are?
Because a holder has to lift off. Its cleat hooks over the wall cleat and rises 2 3/4″ above it, and it needs about 3/4″ of room to unhook, so the row above can’t be closer than 7″. The gap that leaves between rows is exactly the spacer block the plan has you cut from the offcut: stand it on one row and rest the next cleat on it.
How big a wall can it be?
Up to 16 feet wide and 8 feet tall; with the backer, up to 176″, the widest wall whose backer seam still lands on a stud. Past eight feet wide each row is two pieces, because a sheet is only 96″ long: one full-length piece and the remainder. The backer panels seam on the same line, so the joints stack. Taller than a sheet is wide, the backer is two panels stacked, seamed between two rows. Longer than that? Build it as two runs.
How much weight will it hold?
The backer hangs on a 2½″ screw into every stud it crosses, at every height on the list, and each cleat hangs on the backer with a screw every 8″. We haven’t rated the wall for a weight. The weak point is a missed stud, so find every one before the backer goes up and drive a screw into each.
Will holders from another cleat wall fit?
If a holder’s cleat is a 3 1/2″ strip of ¾″ plywood beveled at 45°, it fits: that is the cleat this wall uses, and every row is spaced for it. The 3 1/2″ cleat is the common size, which is why it is the default. Build every holder the same way (a backer, a cleat across the top, a plain strip across the bottom) and they all fit each other.