SHOP DRAWERS
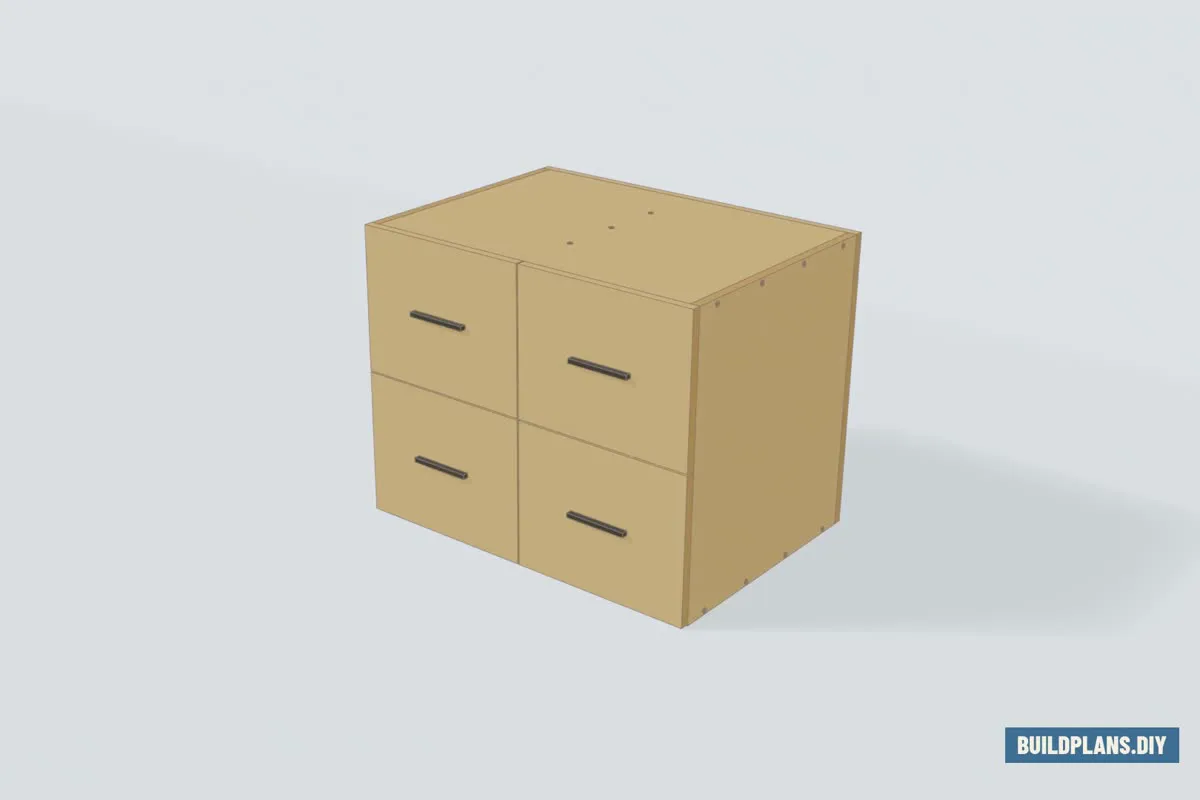
Drawers for any dead space in the shop. A cabinet full of them comes out cut to slide in. No drawer slides needed.
Measure your opening; the drawers build themselves to fill it
CAN I BUILD THIS?
6 steps, all straight cuts. One full day.
SHOP
9 MATERIALS TO GET · 6 TOOLS TO GET
Drawn face-on. ClickTap anything you already have.
Pulls: yours to pick, one per drawer, with 1½″ screws in its thread.
Home Depot’s materials are $1.39 less for this build.
CUT LIST
3 SHEETS · 2 THICKNESSES · 10 SIZES TO CUT
LABEL EACH PIECE
ClickTap a piece when it’s cut, clicktap again to undo. Pieces too thin to clicktap get their own row under the sheet.
¾″ PLY · 4×8 SHEETS
0 OF 34 CUT- A: Cabinet back 29 7/8″ × 23 15/16″
- B: Cabinet bottom 28 3/8″ × 20 1/2″
- C: Cabinet top 28 3/8″ × 20 1/2″
- D: Kicker strip 3 3/4″ × 2 1/4″
- E: Cabinet side 23 15/16″ × 20 1/2″
- F: Bay divider 22 7/16″ × 20 1/2″
- G: Drawer front 14 7/8″ × 11 7/8″
- H: Glide cleat 20 1/2″ × 2 1/4″
- I: Drawer rail 20 1/2″ × 2 1/4″
½″ PLY · 4×8 SHEETS
0 OF 20 CUT- A: Drawer box bottom 18 3/4″ × 12 3/16″
- B: Drawer box side 18 3/4″ × 8 1/4″
- C: Drawer box front/back 11 3/16″ × 8 1/4″
BUILD STEPS
6 STEPS
- Stand the bottom and top between the sides, edges flush front and back. Square by the diagonals, clamp.OPTIONAL GLUE
- CHECK BEFORE YOU DRILLBoth diagonals within 1/16″ of each other. That is square.
ABOUT THIS PLAN
Every garage has an empty bay under the bench or in the shelving. These shop drawers start with a tape measure inside that space. On yours that’s 29 7/8″ across. The plan cuts a cabinet that slides in with a sixteenth of an inch to spare, drawers sized to fill the face edge to edge. No opening to fit? Give it outer sizes instead and it stands on its own.
It’s all plywood: square cuts, glue and cabinet screws. And no drawer slides to buy: each box hangs on its own plywood rails, riding waxed cleats on the cabinet walls. It is a full-extension wooden slide made of three ripped strips, some screws, and a tin of paste wax. The fronts overlay the whole face with an eighth-inch gap between them, so nothing has to line up with anything. Each row is one rip width, screwed on from inside where the screws never show.
COMMON QUESTIONS
Do I really not need drawer slides?
You don’t. Each drawer hangs on two plywood rails of its own, riding waxed cleats screwed to the cabinet walls, with a short kicker strip above keeping everything level. The rails run longer than the box: the drawer opens until only its last couple of inches are still in the cabinet, with everything inside it in view and in reach. That trailing stretch of rail stays captured and carries the load. Three ripped strips per side, screws, and a coat of paste wax. Check it with two fingers: a waxed drawer runs that easily.
Will it fit my opening?
Yes, if the opening is inside the ranges the size controls offer. Measure the tightest point of the opening (between the legs, under the shelf), and if your tape lands between marks, round down: the plan already leaves a sixteenth of an inch per side so the cabinet slides in instead of wedging. Fronts land flush with the front of the opening; anything behind stays yours.
My ¾″ plywood measures thinner than ¾″. Is that a problem?
No, and your tape is right. Sheets sold as 3/4″ commonly run 23/32″, a hair thin. Every fit in this plan errs the direction that makes thin stock safe: drawer clearances only grow, and the fronts overlay the face, so a thirty-second here and there disappears behind them. Cut to the lengths as written and don’t chase the thickness.
My opening is deeper than 30″. What happens behind the cabinet?
The cabinet builds to 30″ at most and the space behind it stays open: dead storage for long, flat things you rarely reach for. A deeper cabinet would want longer drawers than anyone can comfortably pull, so the plan stops where a drawer still works.
What stops a drawer from pulling all the way out?
A stop screw. One screw stands proud near the back of each rail and catches the kicker strip at full pull, so the drawer stops with its last couple of inches still captured instead of landing on the floor.
What if a drawer starts to drag?
Wax it again. Rub paste wax on the cleats, rails and kickers and work the drawer a few times. Still dragging? Stick a strip of slick UHMW tape along the top of the cleat it rides on, and the rail runs on plastic instead of wood.
Can I build it with pocket holes? Or a brad nailer?
Both work, neither is needed. Pocket-hole owners: drill the box fronts and backs facing outward (the false front and the cabinet wall hide the pockets) and face the outer box’s pockets into the drawer cavities. The back and the boxes keep visible screws either way; this is a shop cabinet, and screws you can see are the shop norm. A brad nailer plus glue is a fast way to hang the glide strips (it’s how the classic version of this build does it). The plan writes screws because the drill on the tool list drives them.